这是一篇基础教程,简单的搭建hexo博客
前言

hexo也算是老牌博客框架了,以前对于hexo的了解也仅仅停留在知道他是一个能够快速将本地的markdown文件生成静态网站的框架。
最早的个人博客网站还是自己动手,从0-1的一个spa,并做了大量seo,设备适配,性能优化,配套开发的服务也包括后台管理系统,node服务以及sql数据库,当然个人还兼备产品设计,UI设计等工作。
入坑尝试hexo是由于看到hexo:
- 主题丰富,且多端适配良好。
- seo优化,网页性能👍🏻。
- 方便管理,迁移。
安装
准备好基本环境:
- git
- node
直接全局安装hexo-cli
运行检查是否安装完成
cmd快速辅助工具
有效的快速开启服务关闭服务,避免每次都输入命令的繁琐
初始化项目
使用hero-cli初始化blog项目,我取名叫”luna”吧🌛。
接着安装依赖
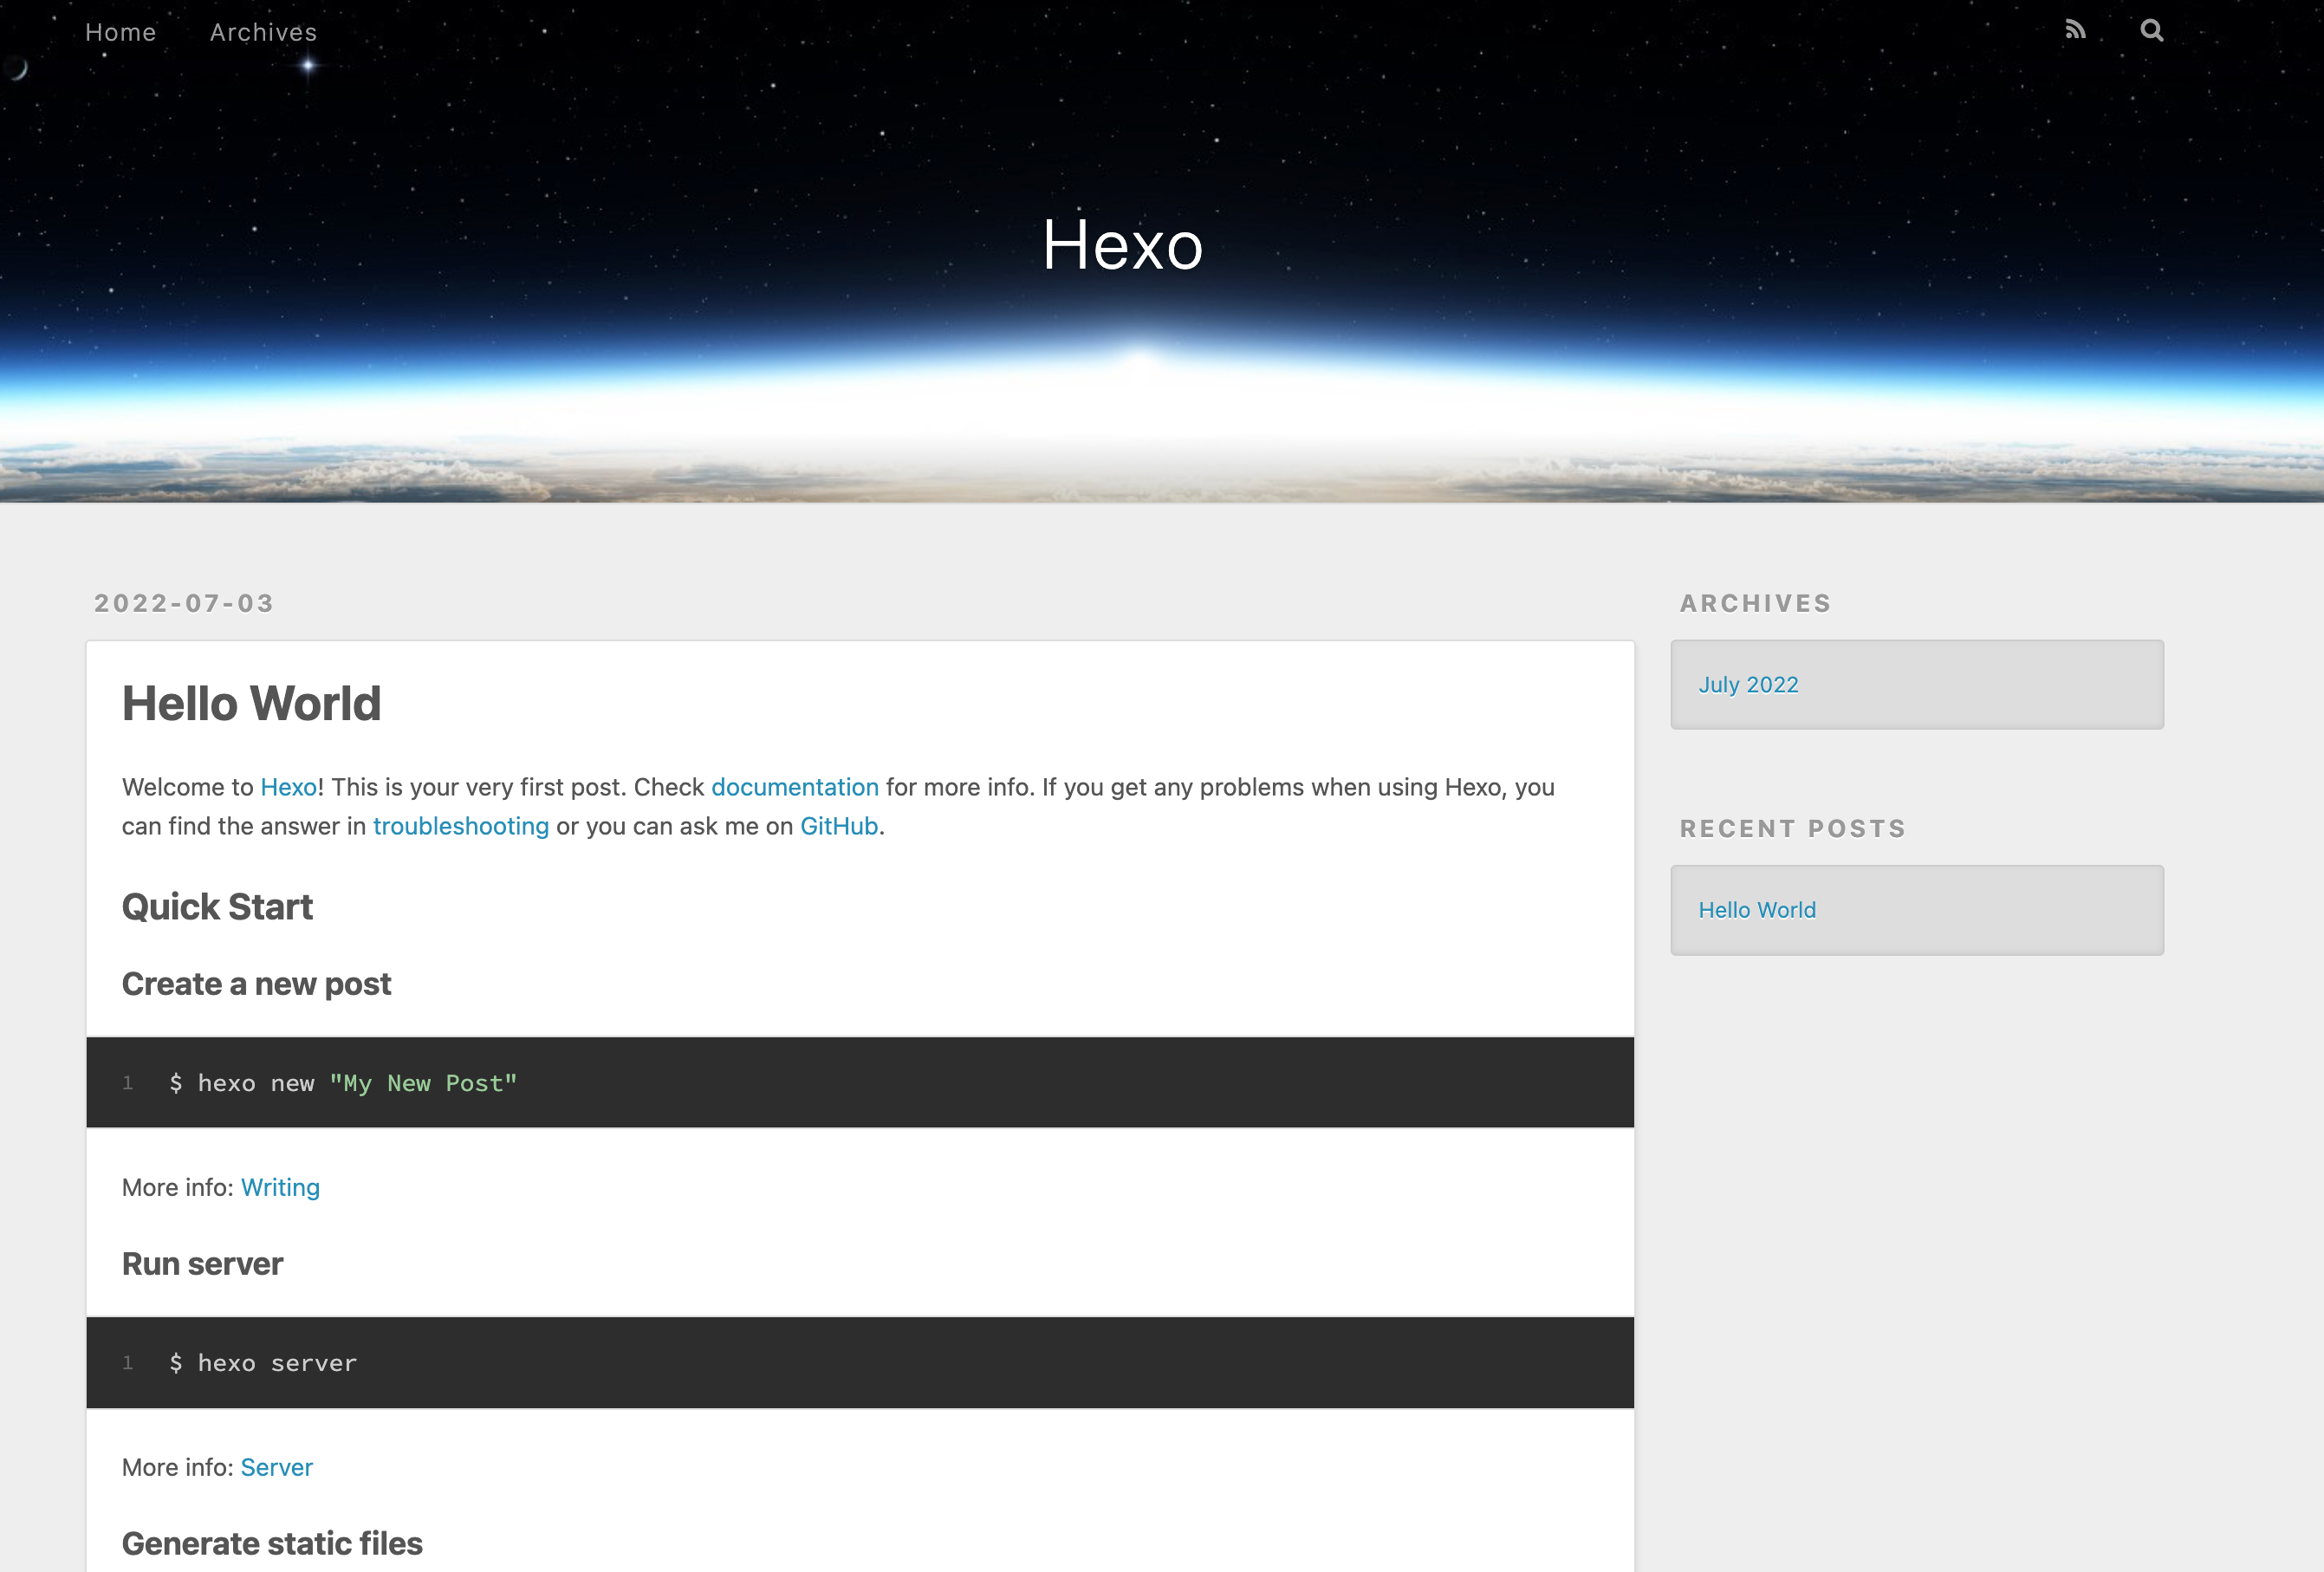
安装完成之后,我们可以运行看下效果。
打开http://localhost:4000/查看效果
文章迁移
把原先写过的markdown,copy到source/_posts。
1
| cp -r /Users/allen/Documents/blog /User/allen/Desktop/luna/source/_posts
|
这里我没找到如何快速批量配置front-matter的方式,只能手动一个一个改了
配置_config.yml
Yaml语言的配置文件,对网站进行详细的设置。
https://hexo.io/docs/configuration.html
安装主题
默认的主题有点丑,可以到官网找下喜欢的。
https://hexo.io/themes/
我选了Butterfly
https://butterfly.js.org/
按照提示安装配置即可。
写个web服务器
目前我们已经完成了hexo项目的初始化,但hexo仅是一个静态页面生成的框架,如果我们需要部署到机器上,那么还需要一个服务器。
express即可满足我所有需求。
安装express,在项目根目录下,创建一个luna/www/index.js。
1
2
3
4
5
6
7
8
9
10
| const express = require('express')
const app = express()
const port = 80
app.use(express.static('./public'))
app.listen(port, () => {
console.log(`app listening on port ${port}`)
})
|
安装pm2,添加script。
1
2
3
4
5
| "scripts": {
"logs": "pm2 logs",
"start": "pm2 start ./www/index.js",
"stop": "pm2 stop all"
}
|
其实快速在机器上更新代码还挺麻烦的,再写个脚本。
1
2
3
4
5
6
7
8
9
10
11
12
13
14
| echo "🚚 拉取最新代码..."
git pull
echo "🚗 更新npm包..."
npm install
echo "📦️ 打包前端代码..."
npm run build
echo "🌏︎ 启动www服务..."
npm run stop
npm run start
echo "🎉🎉🎉 部署成功!!!"
|
放在luna/script/deploy.sh,然后再加个script。
1
2
3
4
5
6
| "scripts": {
"logs": "pm2 logs",
"start": "pm2 start ./www/index.js",
"stop": "pm2 stop all",
"deploy": "sh ./script/deploy.sh"
}
|
测试一下。
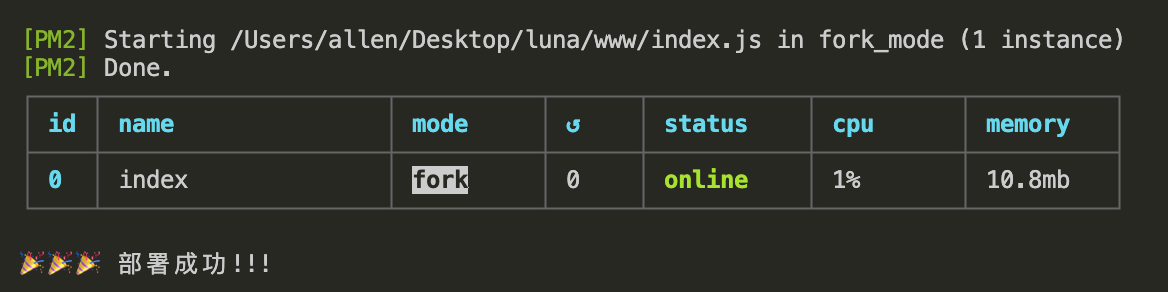
看起来好像没什么问题🤔
搭个图床
博客里图片资源那么多,你看我的1M的学生服务器怎么扛得住呢?图片资源都上CDN吧。
本身我也习惯本地用Typora写博,那么就推荐一下picGo做图床管理吧,mac体验满分。
PicGo官网
支持的图床还蛮多的(我用COS),先配置好你的图床。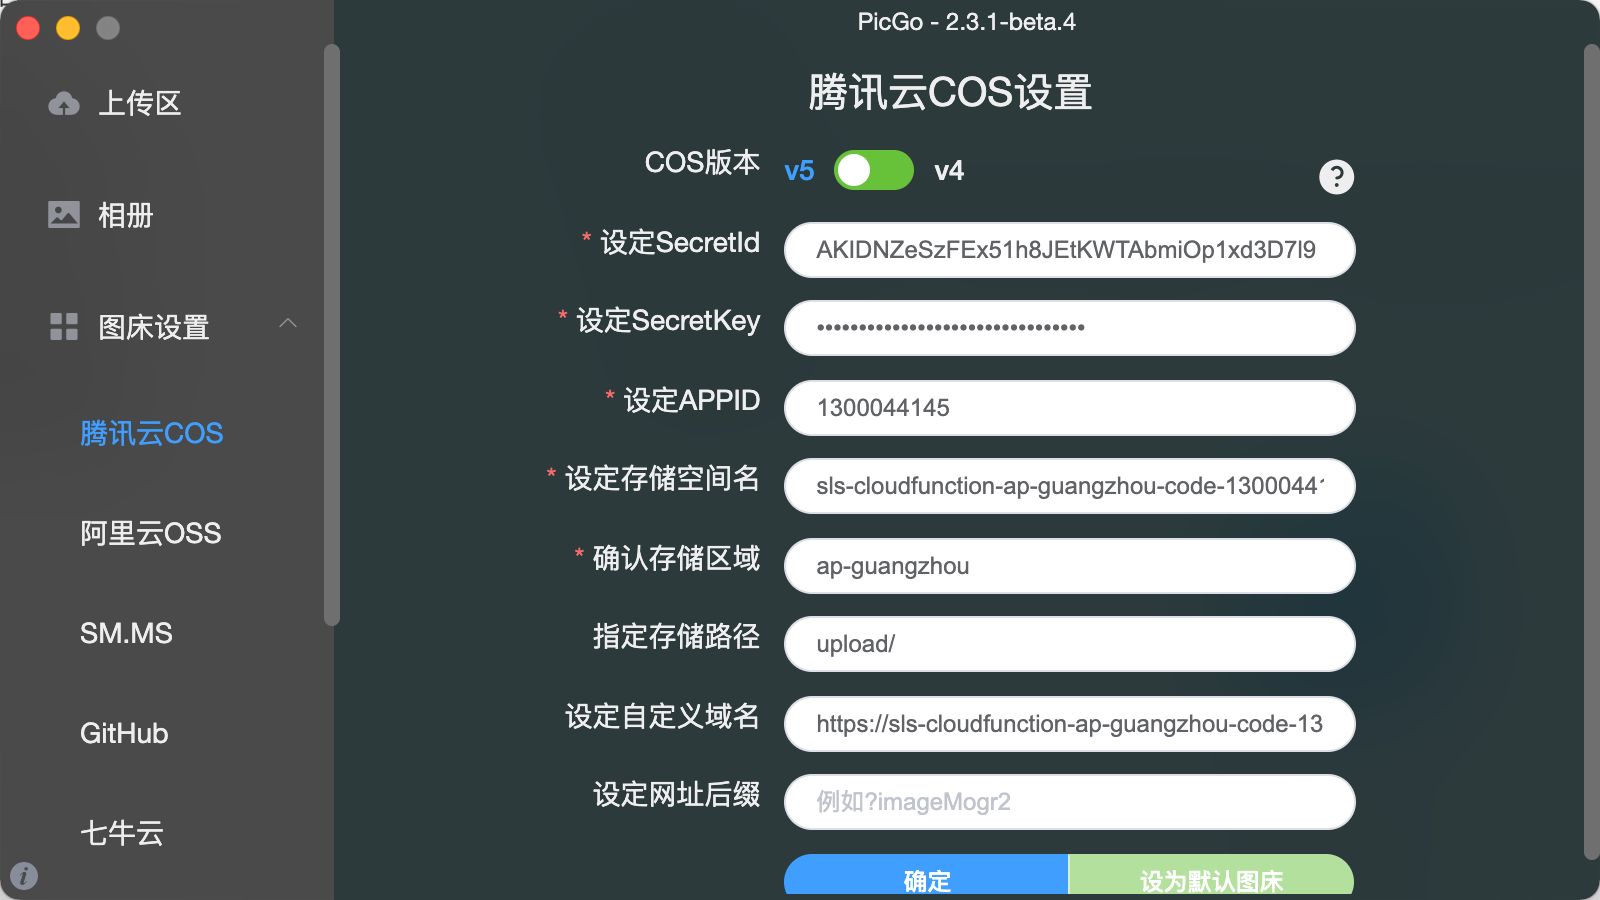
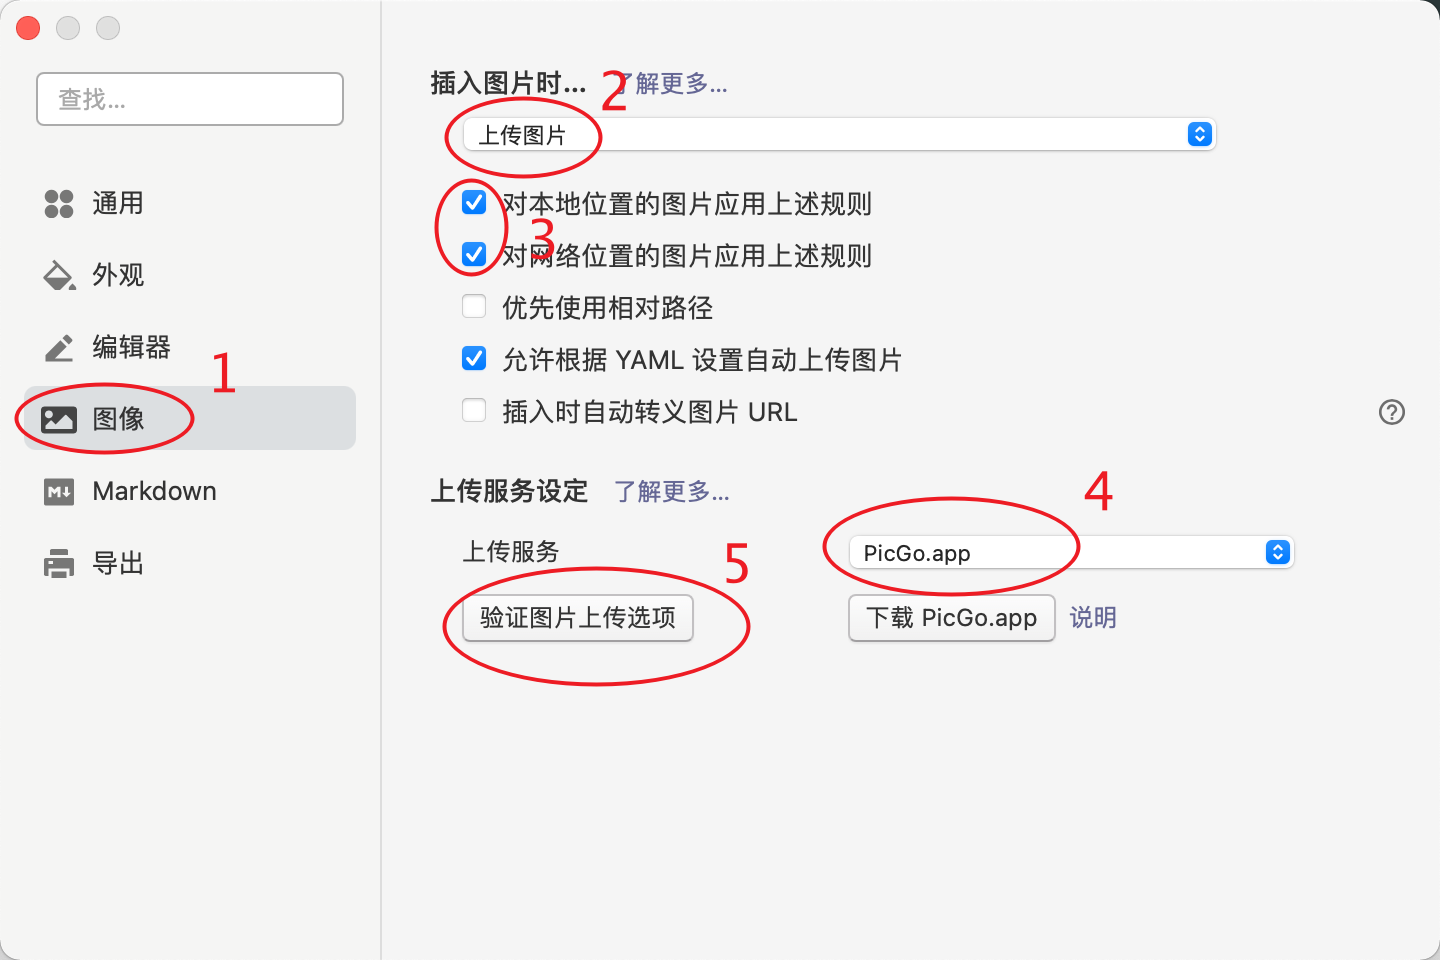
打开Typora偏好设置,配置PicGO自动上传。
试试在Typora里粘贴图片吧
实现自动部署
自动部署使用方式我写进了仓库的README.md了
自动部署
100行实现
1
2
3
4
5
6
7
8
9
10
11
12
13
14
15
16
17
18
19
20
21
22
23
24
25
26
27
28
29
30
31
32
33
34
35
36
37
38
39
40
41
42
43
44
45
46
47
48
49
50
51
52
53
54
55
56
57
58
59
60
61
62
63
64
65
66
67
68
69
70
71
72
73
| const dotenv = require("dotenv")
dotenv.config()
const { Buffer } = require('buffer');
const childrenProcess = require('child_process')
const bodyParser = require('body-parser')
const crypto = require('crypto');
const express = require('express')
const app = express()
const port = 80
const HUB_SECRET = process.env.HUB_SECRET;
app.use(bodyParser.json())
const exec = (bash) => {
console.log(`🔧 开始执行命令 ${bash}`)
return new Promise((resolve, reject) => {
childrenProcess.exec(bash, (error, stdout, stderr) => {
if (error) {
console.error(`🔧 命令出错 ${bash} exec error: ${error}`);
reject()
return
}
console.log(`🔧 命令完成 ${bash} stdout: ${stdout} stderr: ${stderr}`);
resolve()
})
})
}
const validateHubSig = (req) => {
try {
if (!req.body) return false
const signature = Buffer.from(`sha1=${crypto.createHmac('sha1', HUB_SECRET).update(JSON.stringify(req.body)).digest('hex')}`)
const _signature = Buffer.from(req.headers['x-hub-signature'])
if (signature.length !== _signature.length) {
return false
}
return crypto.timingSafeEqual(signature, _signature)
} catch (error) {
console.error('validateHubSigFail', error)
return false
}
}
app.use(express.static('./public'))
app.post('/refresh', (req, res) => {
if (validateHubSig(req)) {
console.log('🏂 webhook自动刷新触发,正在执行...')
exec('git pull')
.then(exec.bind(this, 'npm install'))
.then(exec.bind(this, 'npm run build'))
.then(() => {
console.log('🎉 自动刷新完成!')
}).catch(() => {
console.log('❌ 自动刷新失败,请查看日志详情!')
})
res.status(200).send({
msg:'webhook success'
})
}
res.status(400).send({
msg: 'validate signature fail'
});
})
app.listen(port, () => {
console.log(`app listening on port ${port}`)
})
|
剩下就是直接push,再也不用上机器了(当然有BUG还是要去的 😅)


 微信
微信 支付宝
支付宝